在TODO界面的实现中,我们对定义实体类和recyclerView已经有了一定的了解,Bill页面的基本原理也是跟TODO一样的,不过我在这里丰富了一些细节。
recyclerView的嵌套
为了实现下图的效果,需要将一个recyclerView嵌套在另一个recyclerView中。
原理是在外层adapter的onBindViewHolder中配置内层rv的adapter
public void onBindViewHolder(@NonNull BillDayAdapter.ViewHolder holder, int position) {
    ...

    //加载另一个adapter
    BillAdapter billAdapter = new BillAdapter(mBillDayList.get(position).getBillList());
    layoutManager = new LinearLayoutManager(mContext, LinearLayoutManager.VERTICAL, true);
    layoutManager.setStackFromEnd(true);
    holder.billList.setLayoutManager(layoutManager);
    holder.billList.setAdapter(billAdapter);
    holder.billList.setVisibility(View.VISIBLE);
}
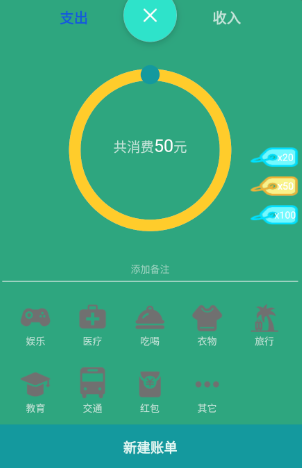
addBill窗口的实现
为了让用户输入更加方便,我在github上找了开源的圆形seekbar作为账单的输入。
通过布局的setVisible()方法,可以动态切换在支出收入种类变更时的窗口下方的种类变化

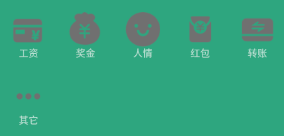
RadioGroup无法嵌套布局的问题解决
在查阅了stackOverFlow之后,发现这竟然是谷歌自己的问题,在RadioGroup中使用LinearLayout等布局时,布局中的radioButton不能被识别在RadioGroup中。
针对这个问题,我提出的方案是重写一个类MRadioGroup用于管理所有的radioButton,代码如下:
public class MRadioGroup {

    List<RadioButton> radios = new ArrayList<>();

    public MRadioGroup(RadioButton... radios) {
        super();
        for (RadioButton rb : radios) {
            if (rb != null) {
                rb.setOnClickListener(onClick);
                this.radios.add(rb);
            }
        }
    }

    View.OnClickListener onClick = v -> {
        clearCheck();
        RadioButton rb = (RadioButton) v;
        rb.setChecked(true);
    };

    public void clearCheck() {
        for (RadioButton rb : radios) {
            rb.setChecked(false);
        }
    }

    public void setCheck(int id) {
        if (id - 1 >= 0)
            radios.get(id - 1).setChecked(true);
    }


    public int getType() {
        int i;
        for (i = 0; i < radios.size(); i++) {
            if (radios.get(i).isChecked())
                return i + 1;
        }
        return 0;
    }
}
实现效果:
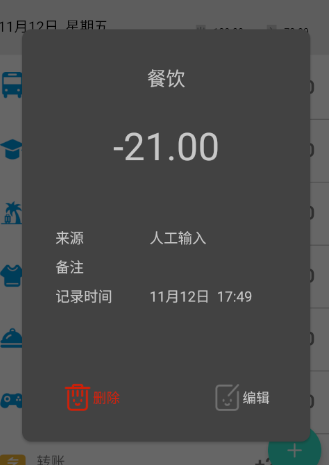
点击账单切换到账单详情
直接在账单adapter中的onBindHolder()方法中添加点击事件即可:
holder.billCv.setOnClickListener(new View.OnClickListener() {
    @Override
    public void onClick(View v) {
        Intent intent = new Intent(mContext, BillEditActivity.class);
        intent.putExtra(BillEditActivity.Bill_ID, bill.getBillId());
        mContext.startActivity(intent);
    }
})
实现效果:
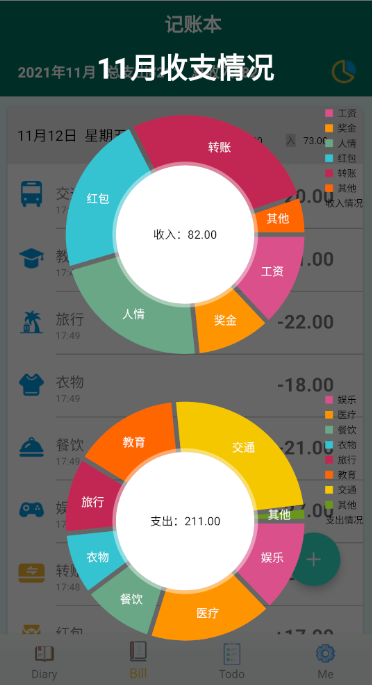
账单月报生成
这里用了一个安卓图表的开源库MPAndroidChart
简单配置后的实现效果:
到这里,账单部分的核心功能就介绍完毕了!